
Building a new homepage
A short write-up on how I updated my site design, along with lessons learnt during the process.

Hello world. It's currently 08:30 on a Tuesday; and I'm sat freezing on the floor in an overcrowded train to London. This is my new blog. I'm trying to get better at writing about my projects and I figured a blog was a decent-ish way of doing that.
Lets begin by talking about how I rebuilt my homepage.
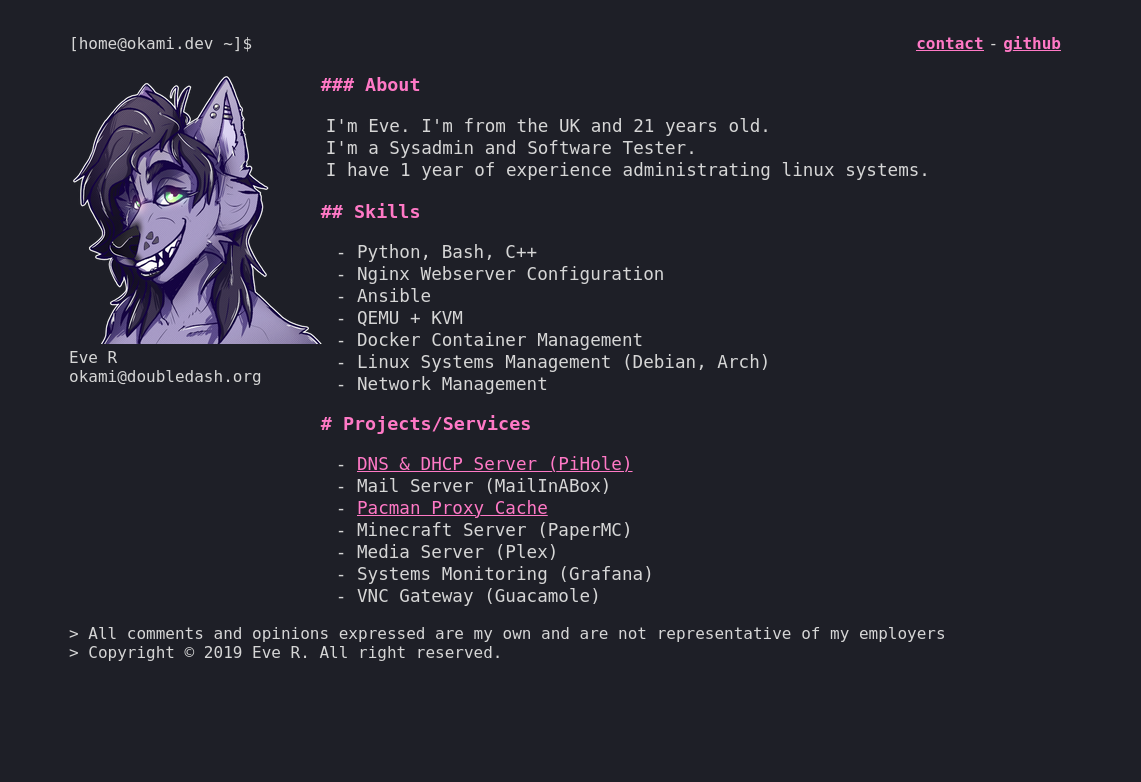
For me, a homepage is a place to advertise yourself. It's almost a portal into your digital identity, and although my previous homepage was alright to showcase myself; I wanted something a little more unique and interactive.
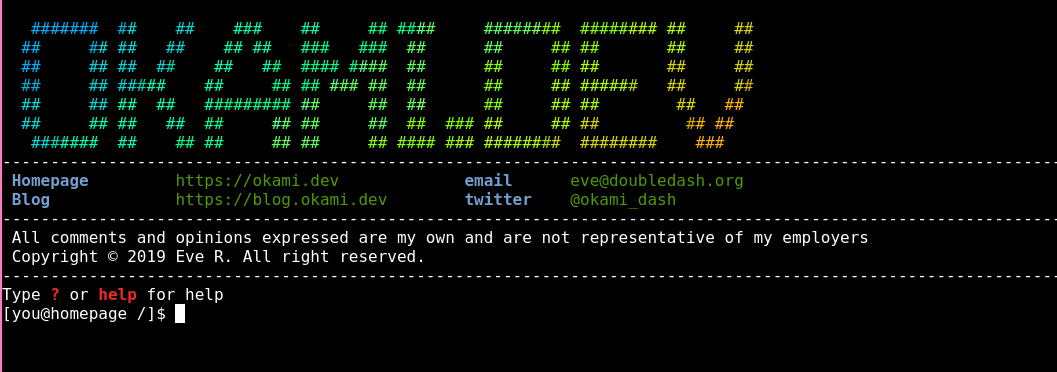
I wanted to build a site that allowed me to really show off. One of the biggest examples of a site that shows off is a site called doqk.ml. It's got that cool ASCII art, hacker in the 90s type feel. I guess that's what I wanted to go for with the original okami.dev, that I never quite pulled off.
I remember that the feeling I wanted to give with the original okami.dev was a feeling that you're in a terminal. That's why I went for the console font, the redhat prompt at the top and README.md type layout.
Terminals excite me. To me a terminal is one of the best tools in anyone's arsenal. I wanted to build something that almost felt like you're in one, and in a way that felt realistic. Dropping the user into a terminal would also give them a peer into who I am in a much more interactive way than just "here's who I am". I could build cool little Easter eggs and custom functions to print info about me.
I figured that if I'm redesigning okami.dev I should really try harder to make the user feel that they're in a terminal than I did originally.
With this in mind; I began planning out how I was going to present a 'terminal' to the end user. There are a few approaches to doing this but in the end I went with displaying a terminal using xterm.js and connecting it to some form of back-end.
I initially went along with benjojo's use of virtual machines to build the back-end, but I I got about 4 hours into compiling Linux kernels before I realized that any edits I would make to the site would require a recompile.
I figured I could probably do it a lot easier and a lot faster with Docker.
Docker
Docker seemed like a good choice to do this kind of task, but giving people shell access to a Docker container is a bit of a security nightmare; especially given that they'd be able to exploit it fairly easily.
I've been using Docker as the workhorse for a lot of my infrastructure for quite some time. I've enjoyed using it given how much flexibility it gives me over Virtual Machines. Automating, testing and deploying is made significantly easier.
If I wanted to go with docker I'd need to put a lot of effort into hardening the image.
Implementation and Security
So, we have the front-end and the back-end. Lets build.
GoTTY ended up being what I used to connect to the Docker image as it allows you to spawn a docker container when a user connects, and eventually kills it once they disconnect.
Once I got some really basic image setup through GoTTY I shared a link with some friends to find flaws. (There were a lot).
After the first few compliments I told them to find ways to exploit this. Within a few minutes, I guess I got my wish.
Obviously, I had some work to do before releasing this.
First on the list was removing all network access. I did this before the initial 'alpha' release as I realized that giving people network access is megadumb regardless of how much I trust them. This is done fairly easily by spawning the container with -net none.
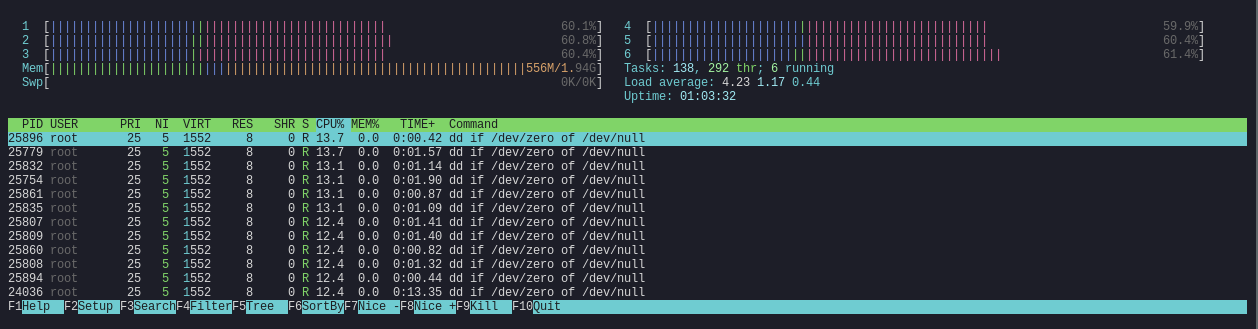
The next thing I learnt was to restrict how the user interacts with the filesystem. After a few minutes of playing, someone managed to fill up the filesystem with random data. This was done with dd if=/dev/urandom of=/filename.txt. I fixed that by removing removing dd at build time, and mounting the container's filesystem as --read-only.
Third; was limiting memory and cpu limits resources. This is fairly easy to do by running the container with the following. -m 32m --cpus=0.5. What this does is limit the container to 32mb of ram and 0.5 of the CPU max. This prevents stuff like fork bombs as with this the container will now just crash and drop the connection if such a heinous command is entered.
Once those were out of the way, the immediate flaws were fixed. People started to get creative.
To limit how long people had to play with the container per session, I made the container timeout after 10 minutes and close. This meant people had less time to break stuff before their container would die and they'd need to get a new shell.
Someone figured out you could SIGKILL the timeout command to drop the limit on the user, so I changed it to run as root and drop the shell to a different user.
Since then, it's been (fairly) smooth sailing. I'm thankful to the people who took the time to test the image so my dumb-ass doesn't get fucked over by malicious actors.
Making it look fancy
After most of the bugs were fixed; I got to work with making it look cool. I wrote a few functions to print out information and skills, and built in my Zsh config to make the syntax highlighting look nicer; but otherwise it was done.

I am pretty happy with the results. I set off making something that looked like a terminal, and I feel that the end result is pretty close.
Future plans involve putting some of my code into the image so people can actually view how god awful I am at coding, but for now I'm going to leave it as is.
Redesigning okami.dev taught me a lot of lessons, and it's especially taught me some great ways of securing Docker images for public use. Hopefully I'll be able to take this into future endeavors.
The code is available below:
 okamidash
The finished site is available here
Thanks,
Okami.